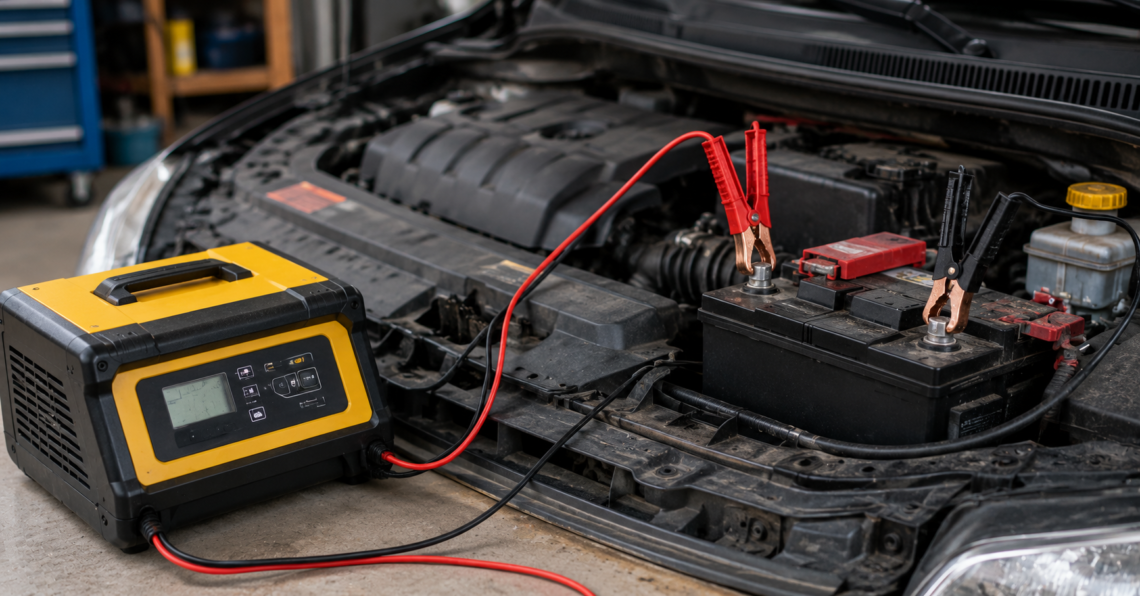
Car batteries are vital components of any vehicle, providing the necessary power to start the engine and run various electrical systems. However, over time, car batteries can lose their charge, leading to difficulties in starting the vehicle. In such cases, knowing how to charge a car battery can be a useful skill. In this guide, we will explore the step-by-step process of charging a car battery to ensure your vehicle stays operational.
Step 1: Gather the Necessary Tools
Before starting the battery charging process, it is essential to gather the required tools and equipment. You will need a set of jumper cables, a battery charger, safety gloves, and safety goggles.
Step 2: Locate the Battery
The next step is to locate the car battery. In most vehicles, the battery can be found under the hood. However, some models may have the battery located in the trunk or under the rear seat. Consult your vehicle’s manual if you are unsure about the battery’s location.
Step 3: Prepare for Charging
Ensure that both the vehicle with the dead battery and the vehicle with the working battery are parked close enough for the jumper cables to reach. Turn off the engine, headlights, and any other electrical components in both vehicles before proceeding.
Step 4: Connect the Jumper Cables

- Identify the positive (+) and negative (-) terminals on both batteries. The positive terminal is usually marked with a plus sign, while the negative terminal is marked with a minus sign.
- Start by connecting the red jumper cable to the positive terminal of the dead battery.
- Connect the other end of the red jumper cable to the positive terminal of the working battery.
- Next, connect the black jumper cable to the negative terminal of the working battery.
- Finally, connect the other end of the black jumper cable to the engine block of the vehicle with the dead battery. Ensure that the cable is connected to an unpainted, metal part of the engine block.
Step 5: Charge the Battery
Start the engine of the vehicle with the working battery and let it run for a few minutes to charge the dead battery. After some time, try starting the engine of the vehicle with the dead battery. If it starts successfully, you can disconnect the jumper cables in the reverse order of how they were connected.
Step 6: Use a Battery Charger
If your car battery still does not hold a charge after attempting a jump start, you may need to use a battery charger. Follow the manufacturer’s instructions on how to connect the charger to your car battery and let it charge for the recommended time.
Step 7: Testing the Battery
After charging the battery, it is essential to test its voltage to ensure it is holding a charge. You can use a multimeter to measure the voltage of the battery. A fully charged battery should have a voltage of around 12.6 volts.
Click here for more information on different types of car batteries.
Conclusively, knowing how to charge a car battery is a valuable skill that can save you from being stranded with a dead vehicle. By following the steps outlined in this guide, you can effectively charge your car battery and keep your vehicle running smoothly.
Remember to always prioritize safety during the battery charging process by wearing protective gear and following the manufacturer’s instructions. If you encounter any difficulties or are unsure about how to proceed, it is advisable to seek professional assistance.
For eco-friendly ways to care for your car battery, visit greenerdailylife.com.